Set up Eloqua Campaigns
To set up your campaign, the first step is to choose your campaign type, simple, A/B test, or multi-step.

For any campaign you run in Eloqua that you want to track in Ignite Growth Platform, you will need to add your Eloqua campaign ID to your Ignite Growth Platform campaign integrations before activating your Eloqua campaign. The Eloqua campaign ID is found in the URL after the campaign has been saved in Eloqua.
![]()

Simple campaign
Follow the steps in Eloqua to launch a Simple Email Campaign.
- Select Simple Email Campaign and name the campaign.
- Select the segment that you will send to.
- Select the email you will send.
- Choose when to send the email.
- Take a look at the advanced sending options for additional send choices.
- Resolve any errors, save the campaign, and activate.
A/B testing
Follow the steps in Eloqua to launch an A/B Test Campaign.
- Select A/B Test Campaign and name the campaign.
- Select the segment you will send to.
- Select email A and B that will be tested.
- Configure the A/B test parameters.
- What is the winning metric?
- How long will the test take place?
- Should the winning version be sent out at the end of the test?
- Choose when to send the email.
- Take a look at the advanced sending options for additional send choices.
- Resolve any errors, save the campaign, and activate.
Multi-step campaign
Multi-Step Campaigns allow the Eloqua user to design a robust journey for contacts to make their way through. These are more flexible and comprehensive campaigns, and provide nurturing capabilities.
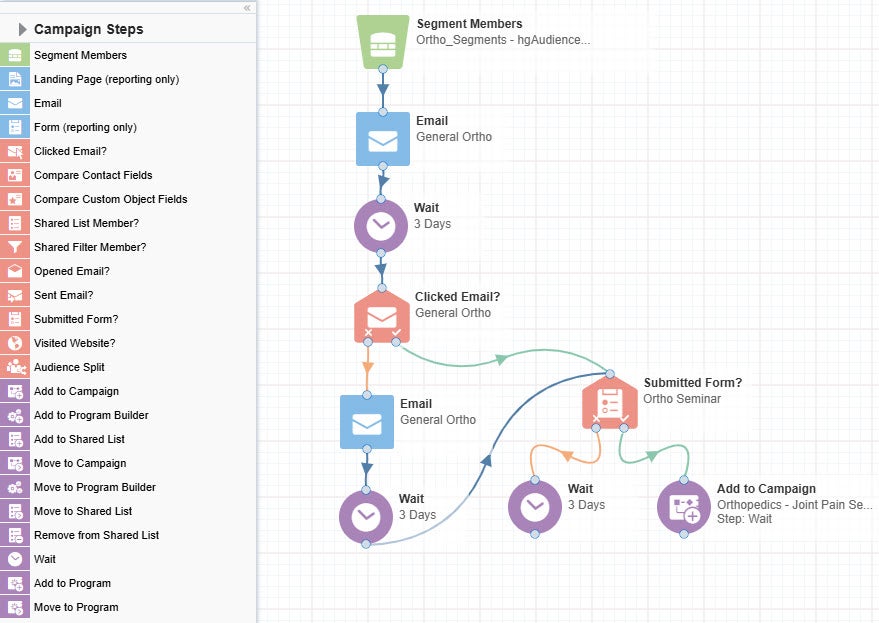
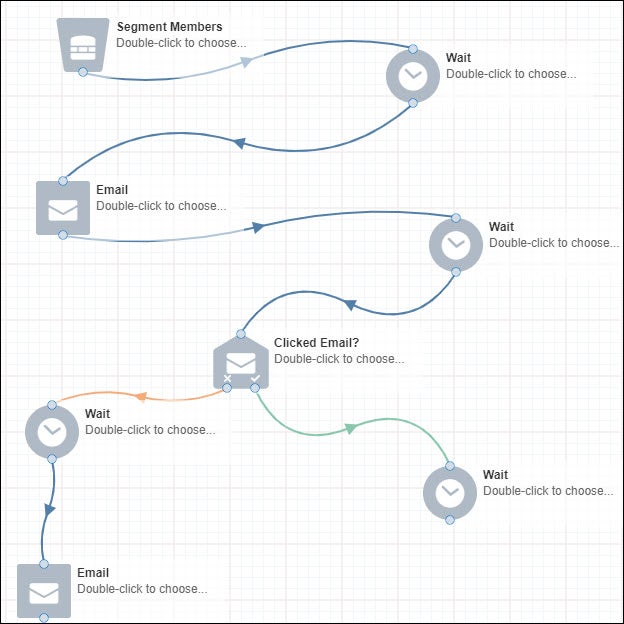
Creating a multi-step campaign is a manual process, where you drag each step from the selections on the left hand side, define and configure them, and set paths and conditional branches between the steps.
Getting started
Using Campaign Canvas's easy drag and drop functionality, choose the campaign step and drag it over to the campaign canvas.
Add campaign steps to create the audience journey.

Campaign Steps allow you to create several different journeys for your audience to travel through. Picking which steps you want to use requires thought about the entire journey.
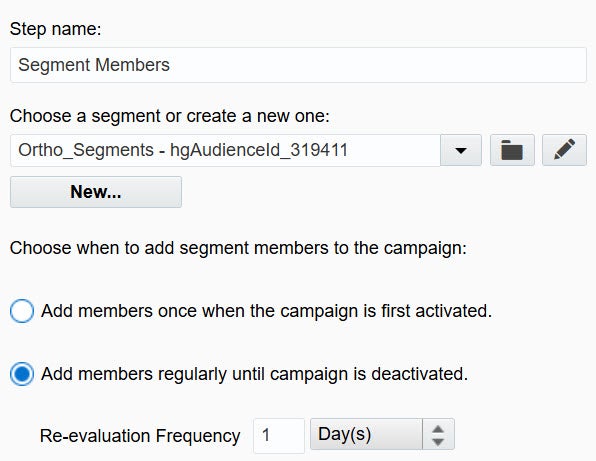
Audience (green) - Choose which segment you want to start with. Within the segment step, configure the evaluation of the audience members. You can choose to add members once the campaign is activated with no new members being added into the campaign after activation. This allows for a static list. Or you can choose to add members regularly until the campaign is deactivated. This allows for a hydrated or 'always on' list.
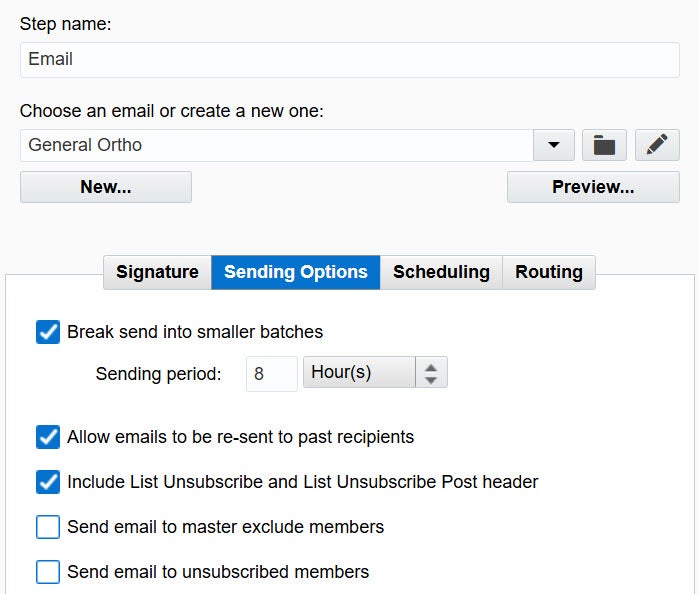
Assets (blue) - Choose what email you want to send to your segment. On the Sending Options tab, you can choose to break the send up over time as well as allow emails to be re-sent to past recipients.
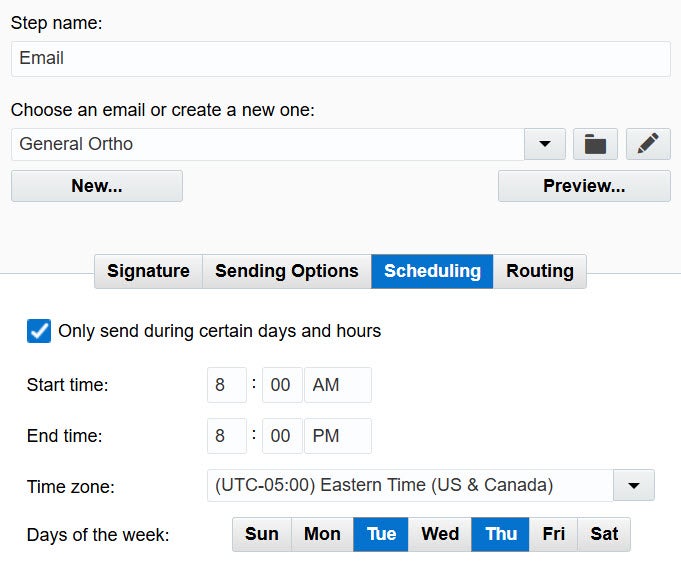
On the Scheduling tab, you can choose what time and days you want to send the email. Keep in mind that if you break your send into smaller batches and set a send schedule the email will only send during those times - i.e. if you break your send over 6 days but only send on Tuesday/Thursday it will take 3 weeks to finish sending the email.
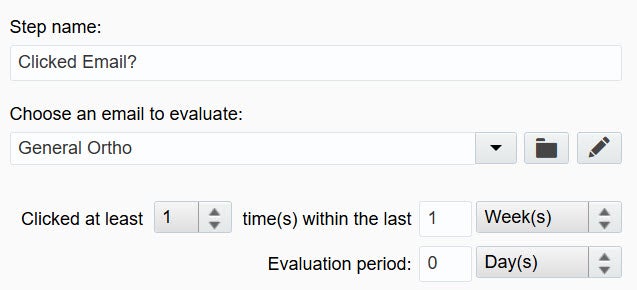
Decisions (pink) - Decision steps allow you to split your audience based on information about them. Did they click a certain email, submit a specific form, or are in a certain group in your audience? Choosing one (or more) decision steps lets you guide members of your audience down different paths in your campaign.
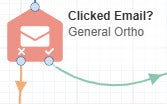
Each decision step has a check and X path that the audience can go down. The check indicates the criteria was met and the X indicates it was not.
Actions (purple)- Action steps allow you to determine what should happen next for your audience. Should they move to a different campaign based on how they interacted with this one, be added to a shared list to be included in a future segment, or wait for a set amount of time?
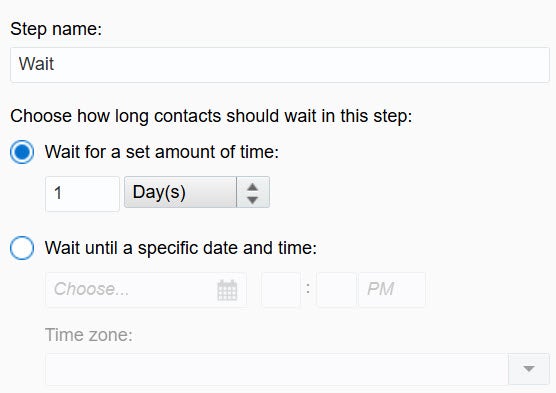
The most commonly used action step is the Wait step. This step should be used before any decision step that is based off of an audience interaction to give your contacts time to do the expected action. You can choose to have the wait for a set amount of time or for a certain date and time. If you are doing an 'always on' campaign, be sure to use the set amount of time instead of a specific date as contacts will skip through the wait step if the date has passed.
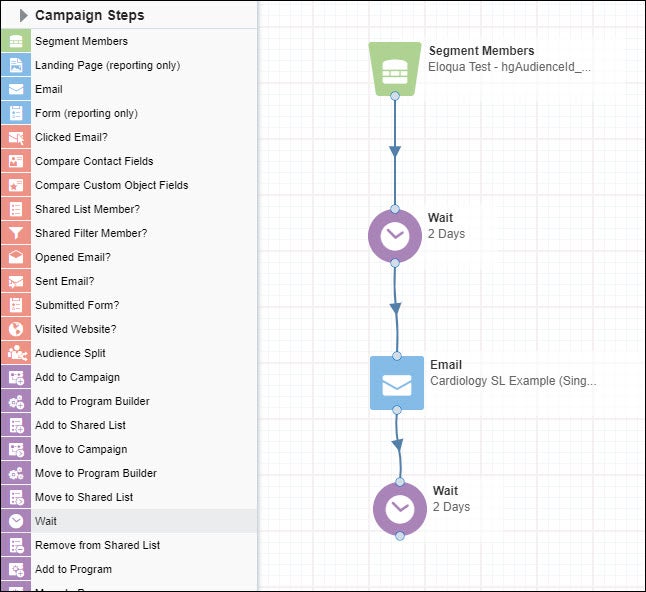
When you first drag a step to the campaign canvas, it will show as a grey option.
Once you have set what each step should do, the step will change its corresponding color.
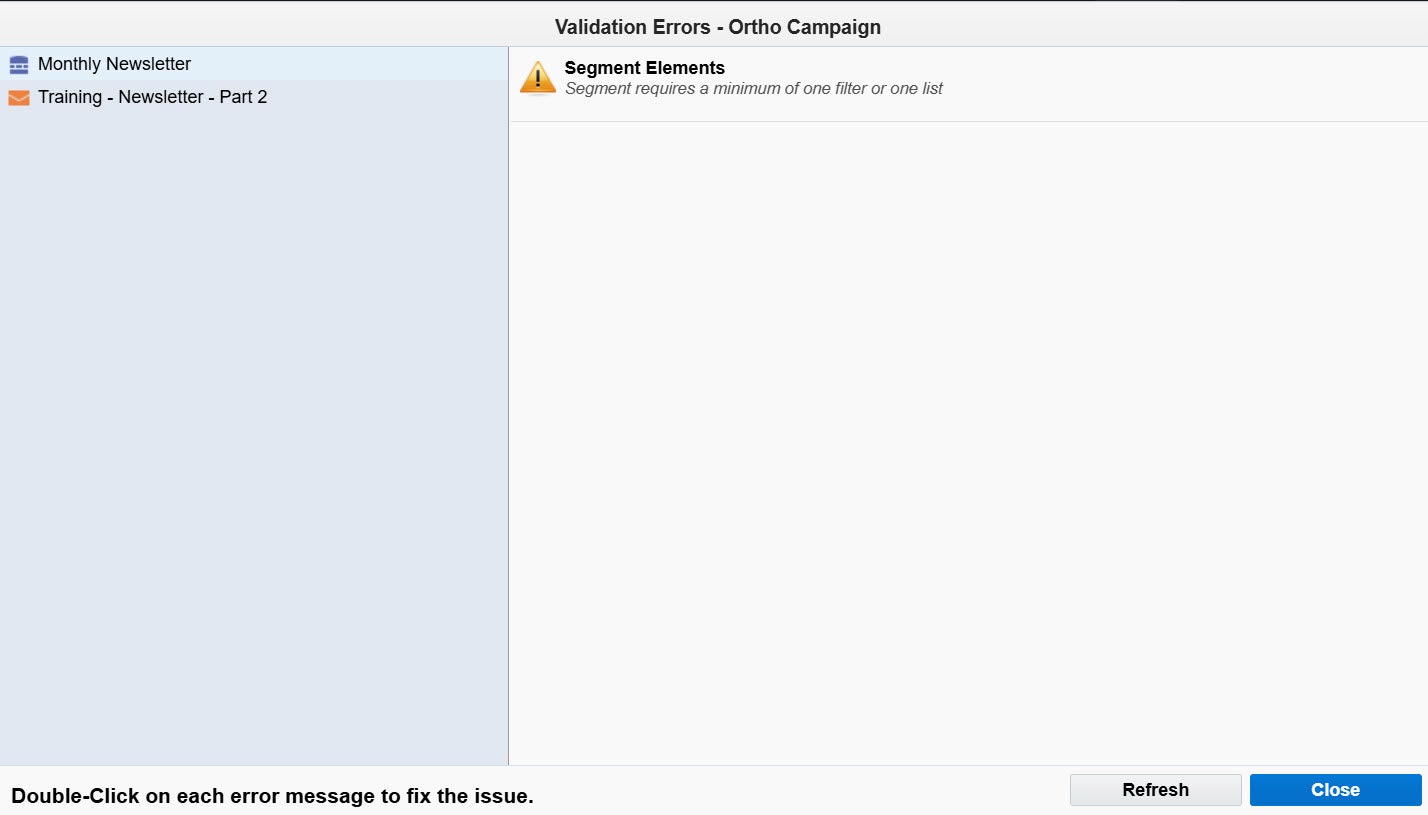
Every time you save a multi-step campaign, it will be checked for errors. If any errors are found in the campaign, there will be a red number indicating the number of errors in the top left corner of your canvas.

If you click on the number, a pop up will show you what errors need to be resolved and allow you to double click on the error to be taken to where the error is occurring.
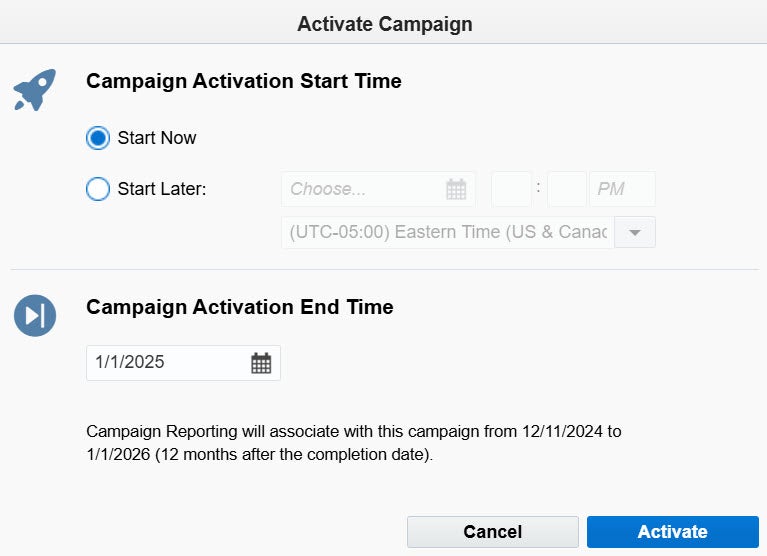
When you are ready to start your campaign, click Activate. This will bring up a pop up that allows you to set if you want the campaign to start now or in the future and when you want the campaign to end. If this is a campaign that is promoting an event, you can set the date to the day after the event. If this is an 'always on' campaign you can set the date out to the future.
Please note that once a contact exits a campaign, they can't reenter it. If you want your contacts to be able to go through a campaign year after year, you will need to make a new version of the campaign each year.
If changes need to be made in an active campaign, you will need to click Deactivate to make the changes.

When you deactivate a campaign, Oracle Eloqua does the following:
- Changes the campaign's status to DRAFT.
- Stops moving campaign members through the campaign.
- Holds campaign members in their current step until the campaign is reactivated.
Save the campaign once you make any needed changes and click Activate again to reactivate the campaign with the new changes.
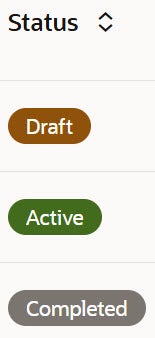
The status of a campaign will tell you what stage it is in. Draft will show when a campaign isn't running, active will show when the campaign is live, and completed will show once the campaign has ended.
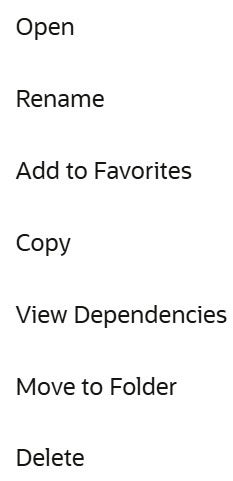
If you are looking to move, copy, or delete a campaign, you can click on the ... next to the campaign name in the main campaigns list and you will be presented with a menu of options.