Reference: Campaign settings
For every campaign, you specify settings that serve to identify the campaign to be easily found, and they also drive how the campaign’s performance is reflected in reporting.
When creating a new campaign, you will be asked to select settings. There are three required fields and several optional fields.
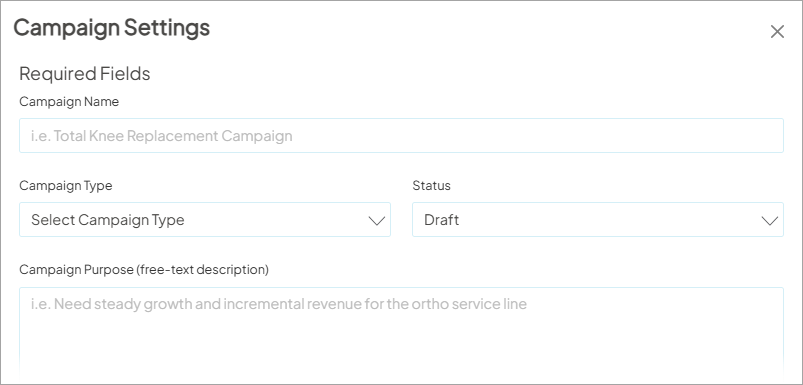
Under Required Fields, you enter identifying details:
- Name of campaign
- Campaign Type
- Campaign purpose
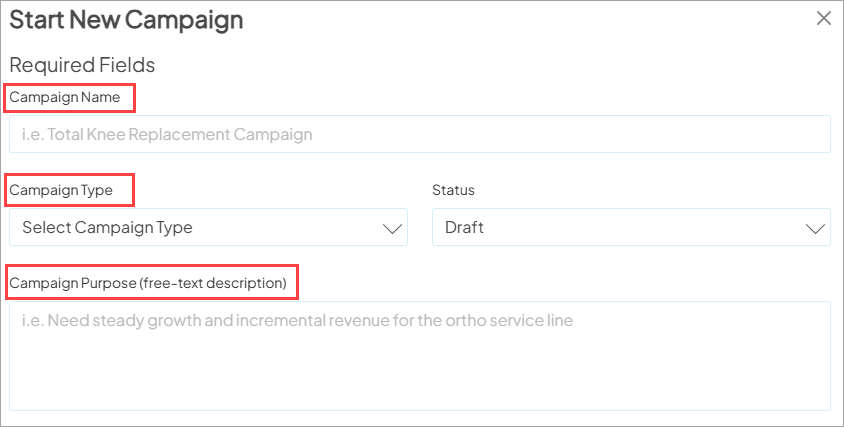
Campaign Name
The first thing you will be required to enter is Campaign Name, which is a free-text field. It is very helpful to define a standard naming convention to ensure the platform stays organized and campaigns are easy to identify and find.
Campaign Type
Next, you will select a campaign type which is used to easily reference to get a high level understanding to indicate the general purpose of the campaign you’ll be executing.
- Acquisition
- Brand
- Awareness
- Education
- Event
- Promotion
- Loyalty/Retention
- Other
- Patient Engagement
- Service Line
- Wellness
Campaign Purpose
This final required field is also a free-text description for the campaign and here you can enter the important details of the campaign that others can read to get more insight into the campaign and its purpose.
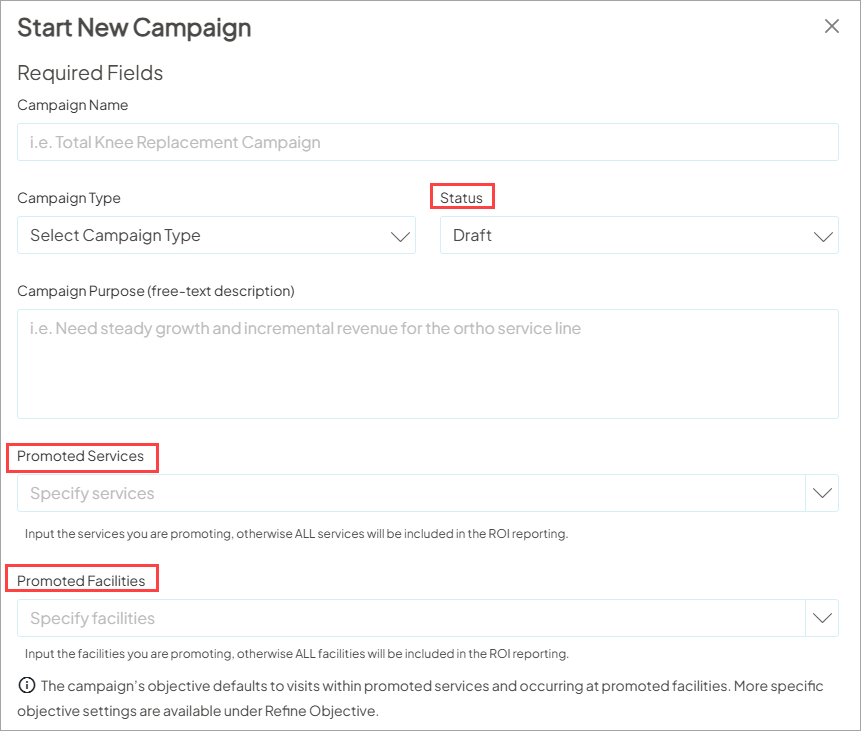
Status
The status field allows you to indicate the current phase of the campaign.This field is purely metadata and does not perform any actions if updated.
Below are the available status options:
- Draft (default)
- In Progress
- On Hold
- Complete
Promoted Services
This section allows you to choose the services the campaign is promoting - either from Ignite Growth Platform Service Lines or Custom Service Lines (only if your organization is sending its own defined service lines).
By default no services are selected - this means that visits in all service lines will be tracked in reporting. To track at a more granular level, select one or more service line(s). This setting will count visits associated with the selected service line or lines toward the campaign’s objective.
Promoted Facilities
Similar to Promoted Services, the default is all facilities (no facilities are selected). If the campaign objective is to, for example, increase visits at a specific facility, select one (or more) of your health system’s facilities and visits at the selected facility or facilities will be counted toward the campaign’s objective in reporting .
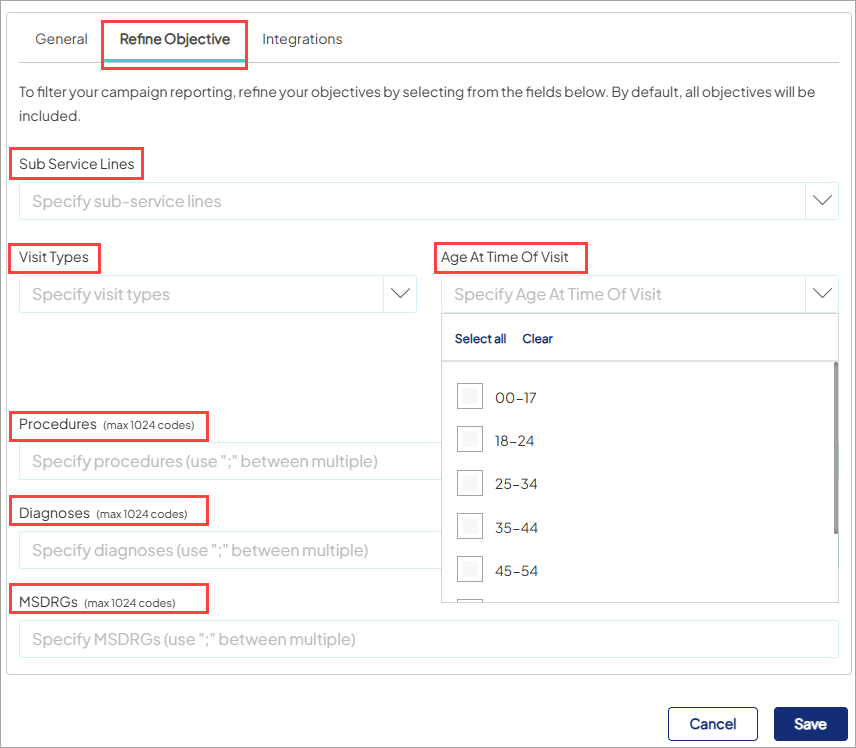
You can narrow your objective further through the optional Refine Objective campaign settings (learn more).
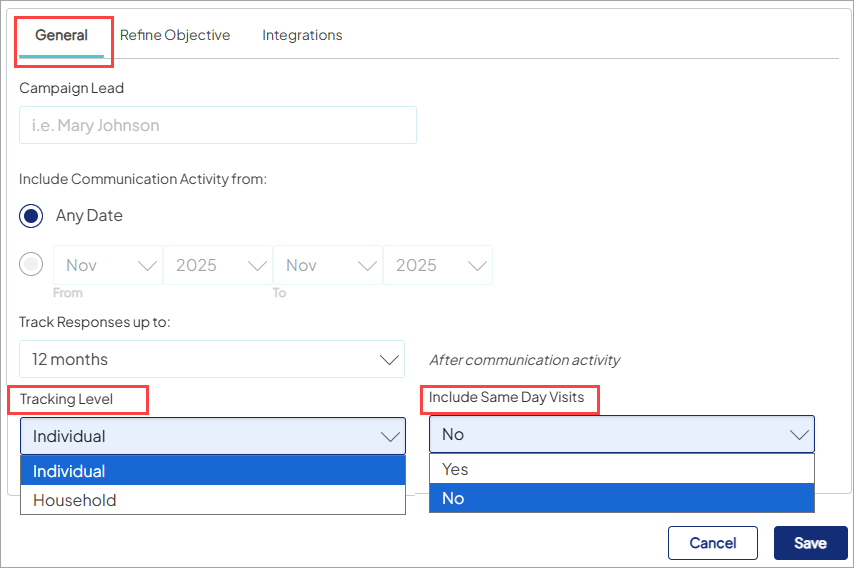
Campaign Lead
This optional free-text field is helpful to populate so other users know who the "go-to" person is for any campaign questions or reporting requests.
Include Communication Activity from:
This setting allows you to view downstream visits in reporting for all communication/activity associated with your campaign or limit to a certain communication/activity time frame.
What’s included in your reporting varies based on which option is selected:
- Any Date: Selected by default. Your reporting reflects any communication and downstream activity from the first contact date.
- Date range: Select a range of months: from month/year to month/year. The performance report reflects only the activities with contact dates that fall within the selected months/years. Use this to report on performance for communication activity within a smaller time frame than the campaign as a whole.
Track Responses up to:
Choose the number of months during which response activity should be counted toward the campaign. The performance report reflects activities of the identified audience from the contact date through the selected number of months:
- 6 Months
- 12 Months (default)
- 18 Months
- 24 Months
Learn when tracking begins and ends for each channel here.
Tracking Level:
Select whether reporting will include downstream activity of the targeted individual or the targeted individual AND everyone in the household. This is especially useful for pediatric campaigns, where marketing activity comes from the parent or caregiver, but you want to report on downstream visits for children in the household. Automatically applied to reporting when saved (i.e., no need to manually change campaign reporting filters).
- Individual (default)
- Household
Include Same Day Visits:
For emergency and urgent care campaigns, this allows you to capture those relevant same-day encounters in your downstream ROI tracking. Automatically applied to reporting when saved (i.e., no need to manually change campaign reporting filters).
- No (default)
- Yes
The Refine Objective tab allows the use of procedure, diagnoses, and MSDRG codes, type of visit, age at time of visit, or sub service lines to define the objective and make the objective more granular when used in combination with the other options. Defaults to All or select different options to align reporting with the campaign objectives. For example, you can focus your default reporting on pediatric visits (0-17) or on age-based health screenings like mammography.
Example:
You are running a cardiology campaign specifically for Electrophysiology visits at a new Electrophysiology lab facility. You define your objective as follows:
- Facility - New EP lab location
- Sub Service Line - Electrophysiology
These fields combined will report on visits that happen at the New EP lab location and the visits that are within the Electrophysiology sub service line.
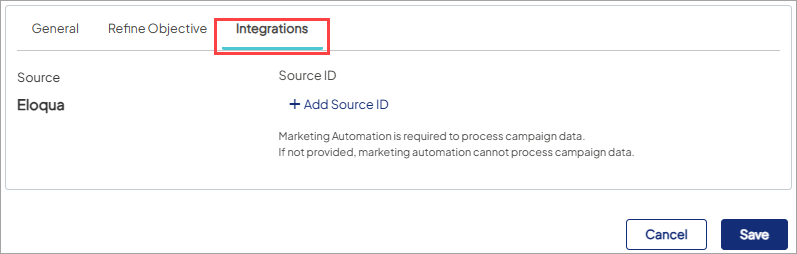
If you are using email in your campaign, it is critical that you add the Eloqua or SFMC campaign (or journey) IDs, etc. to the Integrations tab so email reporting will be available in Campaign Reporting. If this integration step is not completed for campaigns with an email channel, the email campaign data will not be included in the platform Campaign Reporting.